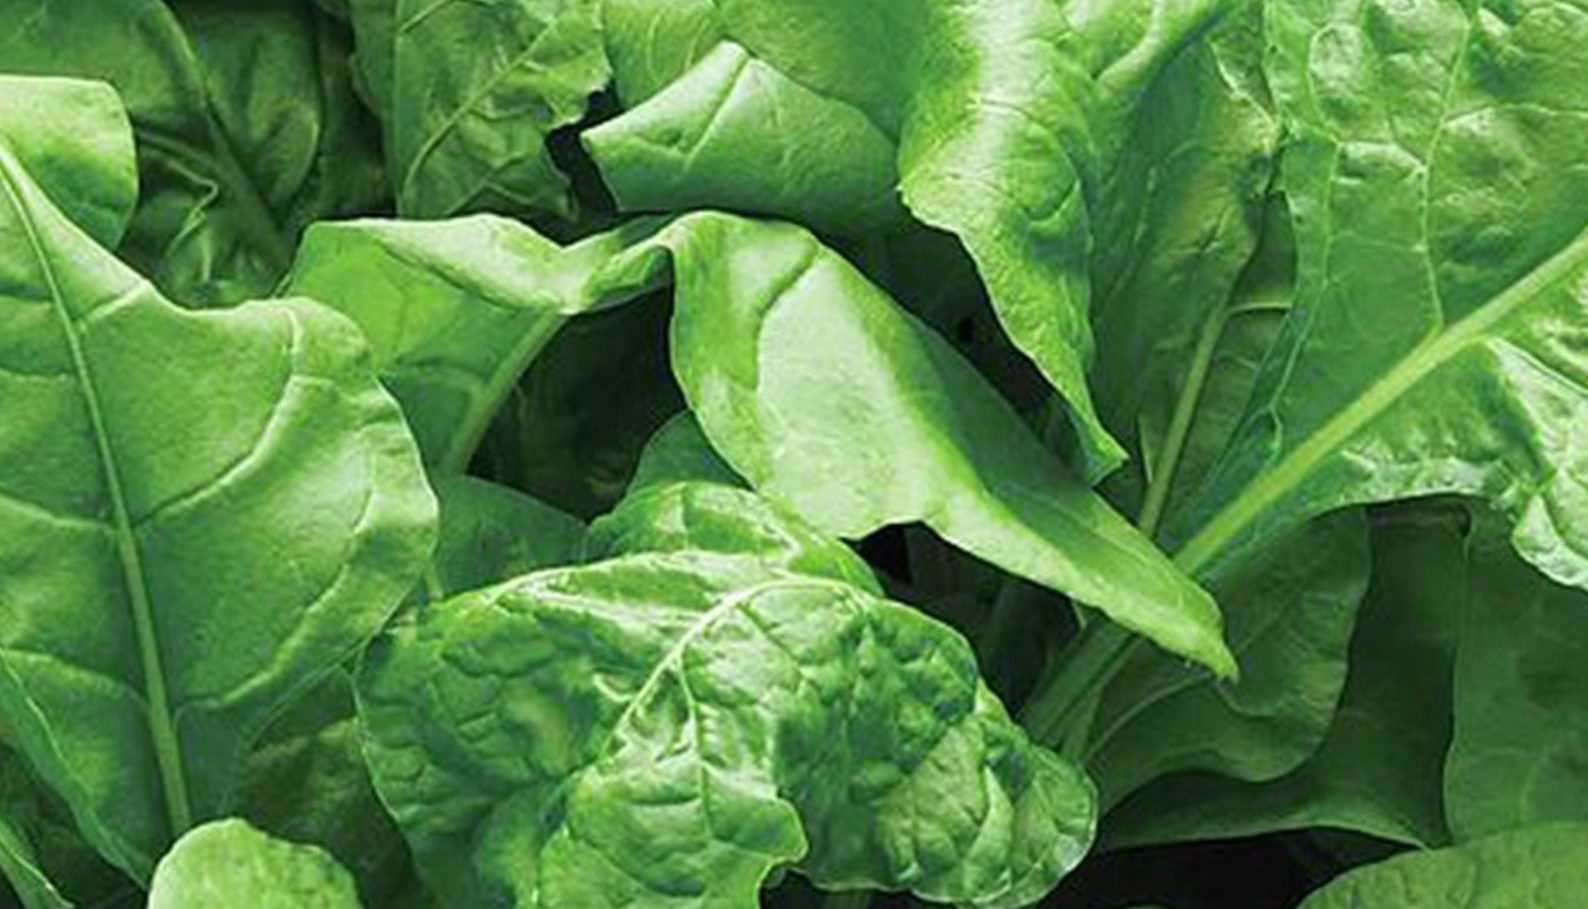
How to Sow Perpetual Spinach Seeds in the UK
Perpetual spinach is a hardy and reliable variety, perfect for UK gardens. Unlike traditional spinach, it is resistant to bolting and can produce fresh leaves for over two years when selectively harvested. Its robust nature makes it ideal for growing in gardens, allotments, raised beds, pots, or even indoors. With a mild, earthy flavour, perpetual spinach is a versatile ingredient for salads, stir-fries, and cooked dishes.
When to Sow Perpetual Spinach Seeds
- Indoor Sowing: Sow seeds indoors year-round in a warm, sunny location, such as a greenhouse, polytunnel, or south-facing windowsill.
- Outdoor Sowing: The best times for outdoor sowing are from March to April and September to October, avoiding the peak summer heat and hard frosts.
Step-by-Step Guide to Sowing Perpetual Spinach Seeds Indoors
- Prepare Containers: Use seed trays, pots, or deep containers filled with well-draining, nutrient-rich compost.
- Sowing the Seeds: Sow seeds at a depth of 1/2 inch (1.2 cm), spacing them evenly to avoid overcrowding.
- Germination Conditions: Maintain temperatures between 10-24°C (50-75°F). Germination usually occurs within 7-14 days.
- Watering: Keep the compost moist but avoid overwatering, as excessive moisture can lead to damping-off disease.
- Transplanting: Once seedlings reach 3 inches in height, thin them to 6 inches apart or transplant them into larger pots or their final growing location.
Step-by-Step Guide to Sowing Perpetual Spinach Seeds Outdoors
- Soil Preparation: Select a sunny or partially shaded area with fertile, well-drained soil. Improve the soil by adding compost or well-rotted manure before sowing. Avoid very acidic soil for best results.
- Sowing the Seeds: Sow seeds directly into the soil in rows, planting them 1/2 inch (1.2 cm) deep. Space rows 12 inches apart.
- Watering: Water lightly after sowing and ensure consistent soil moisture, especially during dry spells.
- Thinning: Once seedlings grow to about 3 inches tall, thin them to 6 inches apart to allow proper air circulation and root development.
Caring for Perpetual Spinach Plants
- Watering: Keep the soil moist, particularly during dry weather, to ensure continuous leaf production. Avoid waterlogging.
- Feeding: If grown in nutrient-poor soil, apply a balanced fertiliser every 4-6 weeks to encourage lush foliage.
- Mulching: Apply a layer of mulch around the plants to retain moisture and suppress weeds.
- Pest Management: Protect young plants from slugs and snails using organic barriers or companion planting.
Harvesting Perpetual Spinach
- When to Harvest: Leaves can be harvested once the plant reaches 4 inches in height. Pick the outer leaves first, allowing the central leaves to continue growing.
- Harvest Frequency: Regular harvesting encourages new growth. With proper care, perpetual spinach can provide fresh leaves year-round.
- Using Leaves: Young leaves are best for fresh salads, while mature leaves are excellent for cooking in stir-fries, stews, and soups.
Common Questions About Growing Perpetual Spinach in the UK
- Can perpetual spinach grow in containers? Yes, it thrives in containers. Choose pots that are at least 12 inches deep, ensuring good drainage.
- Does perpetual spinach tolerate frost? Yes, it is winter-hardy and can survive mild frosts, making it a great option for autumn and winter harvesting.
- How do I prevent bolting? Perpetual spinach is naturally resistant to bolting. To minimise risk, avoid extreme heat and ensure the soil stays moist.
- What type of soil is best for perpetual spinach? Well-drained, nutrient-rich soil with a neutral to slightly alkaline pH is ideal. Avoid very acidic soil.
Perpetual spinach is an excellent, long-lasting crop for UK gardens, providing continuous harvests with minimal maintenance. Whether grown in a vegetable patch, raised bed, or container, this resilient leafy green will keep producing fresh leaves throughout the year. Follow these steps for a reliable, nutritious, homegrown harvest!
Frequently Bought Together


